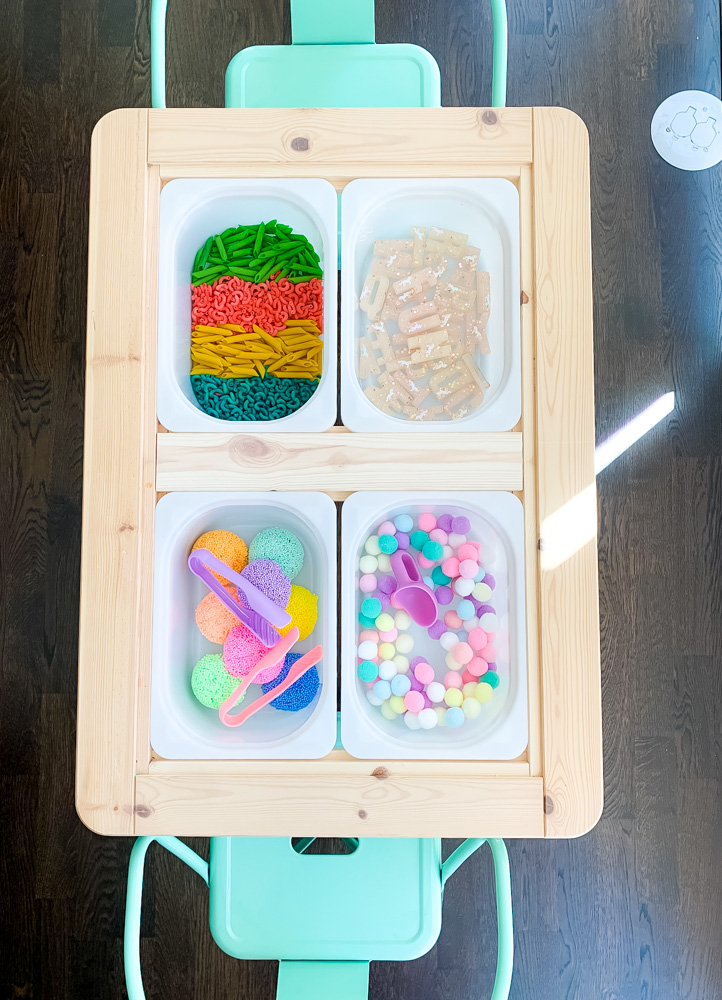
Coming to you with a fun kids project today that will guarantee to delight your toddler! I’m always looking for screen-free activities for Lizzie to do that keep her engaged for a long period of time. It can be challenging to get Lizzie to play alone while I need to do things around the house. While I love to have her follow me around the house asking what I’m doing, I want her to also be able to play independently. I found that sensory activities tend to keep her attention longer so I decided to create a sensory table for her at home.
What Is A Sensory Table
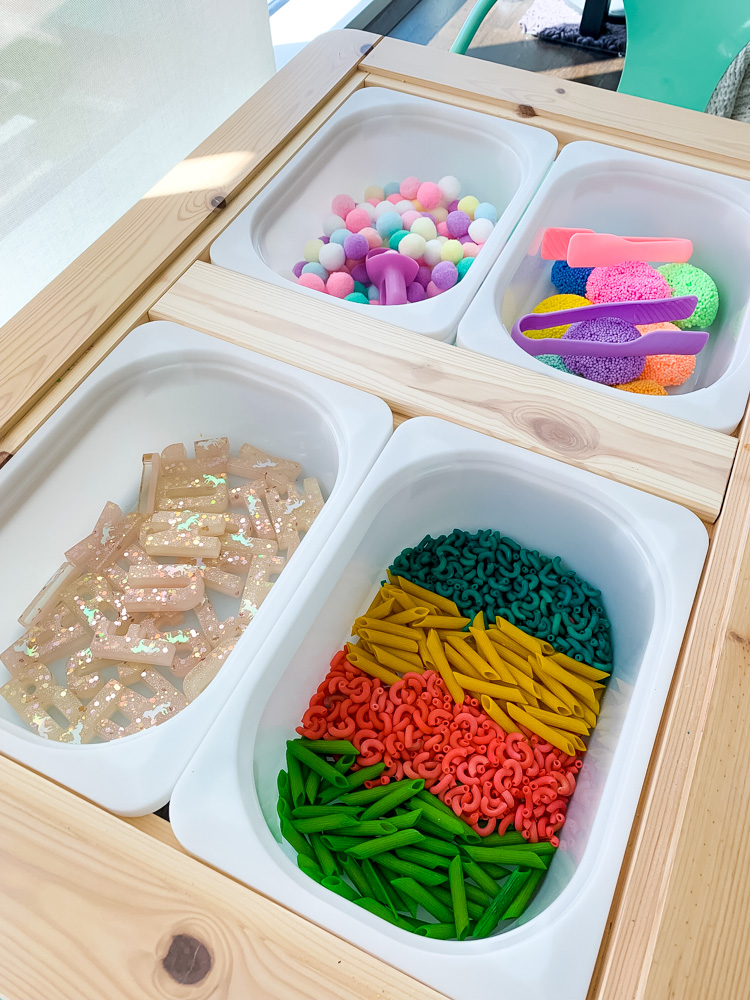
I will admit that I had no idea what a sensory table was a year ago, but now I know! A sensory table is typically a low table that holds one or more containers, which can then be filled with items for your child to play with and explore. You can essentially put anything in a tub and call it a sensory table. It doesn’t necessarily have to be educational, but it does have to be fun!
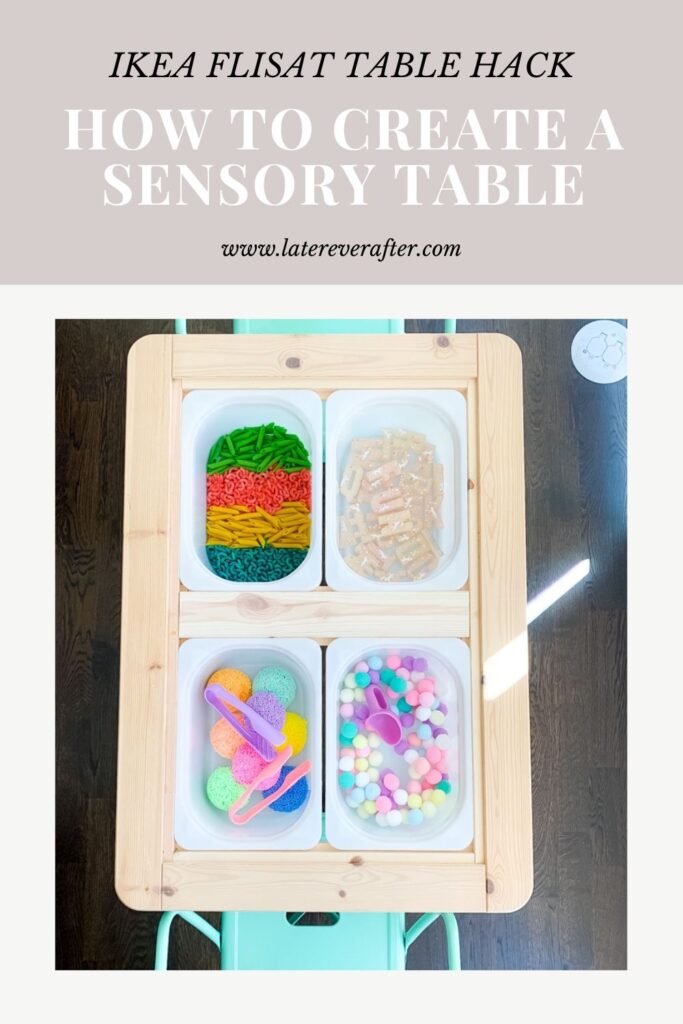
My sensory table is from IKEA, it’s the Flisat Table and it’s the best $60 I’ve ever spent! Not only can you create a sensory table you can also turn it into a craft table. I have a full post on how to create a craft table out of the Ikea Flisat Table which you can find here.
How To Create a Sensory Table
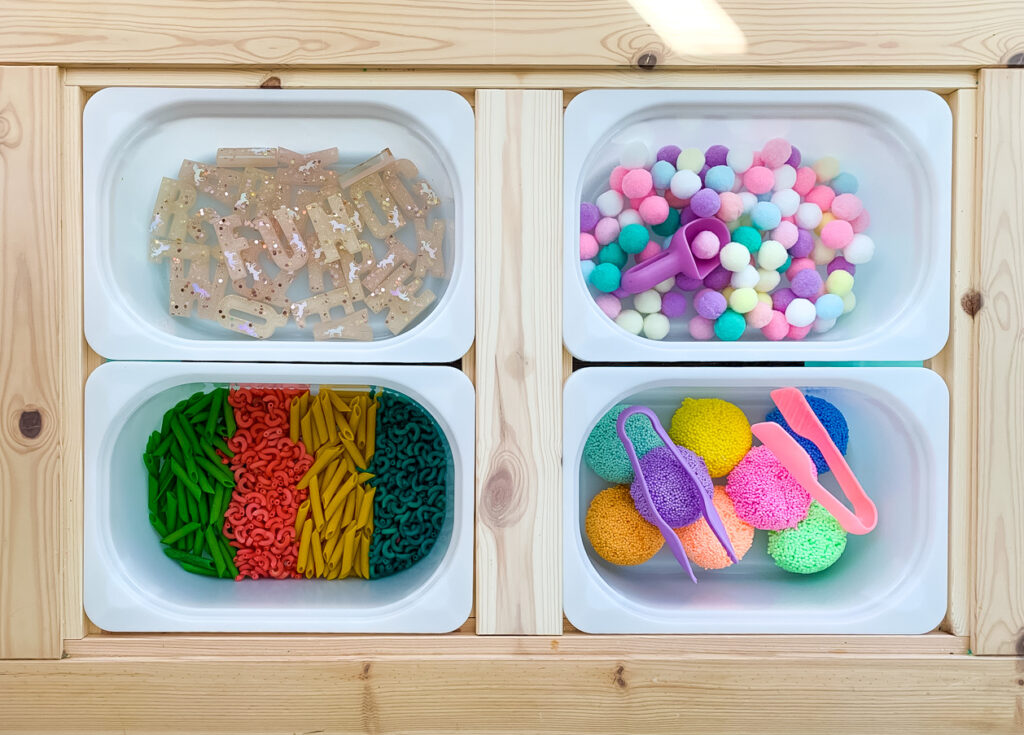
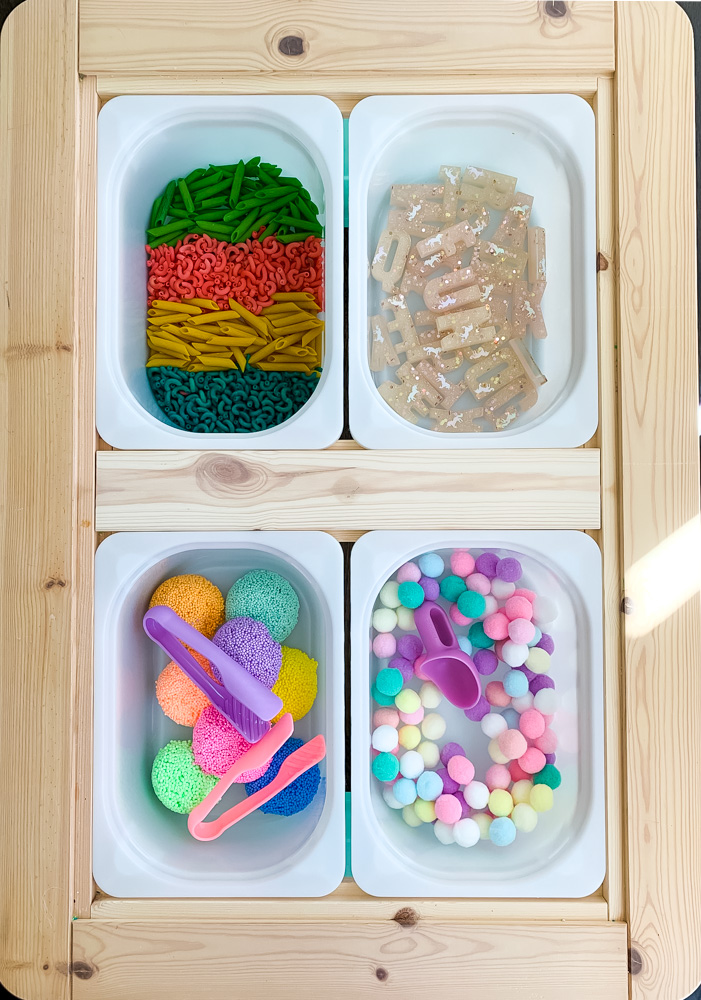
The key to creating a successful sensory table is to find items that your kids love. If your kids love crayons then add a coloring bin to the table. In other words, anything goes. I’ve created four sections in our sensory table that are fun and have an educational undertone. I also tried to pick items that weren’t too messy. So no sand or water for this table.
Bin 1 – Colored Pasta
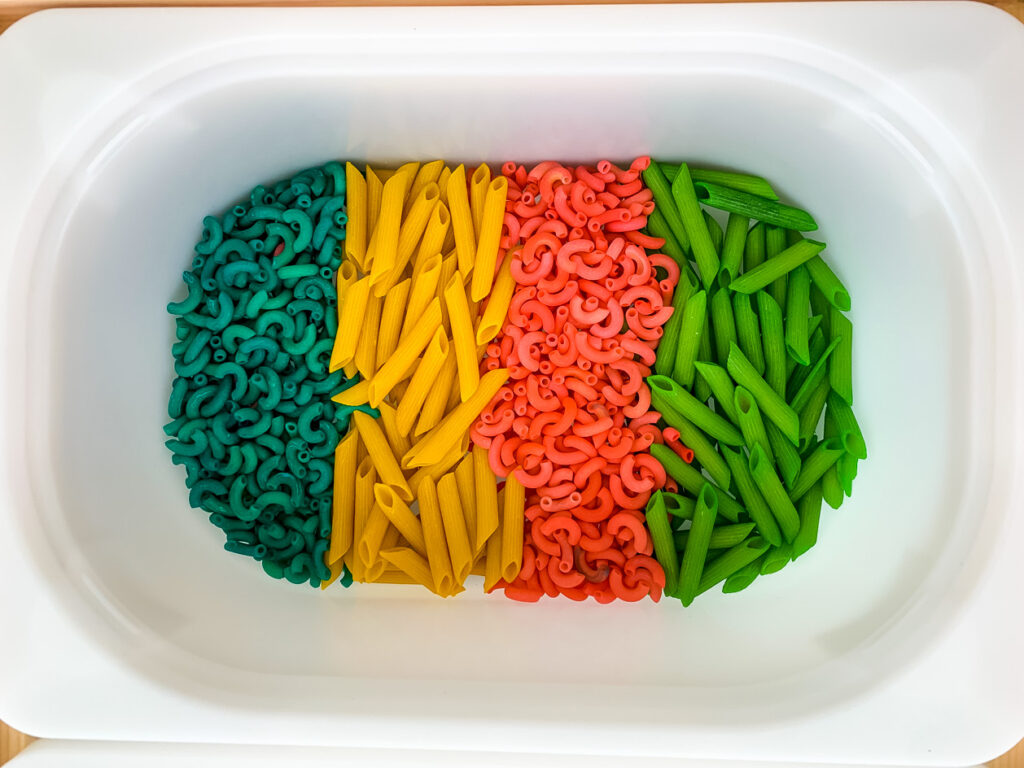
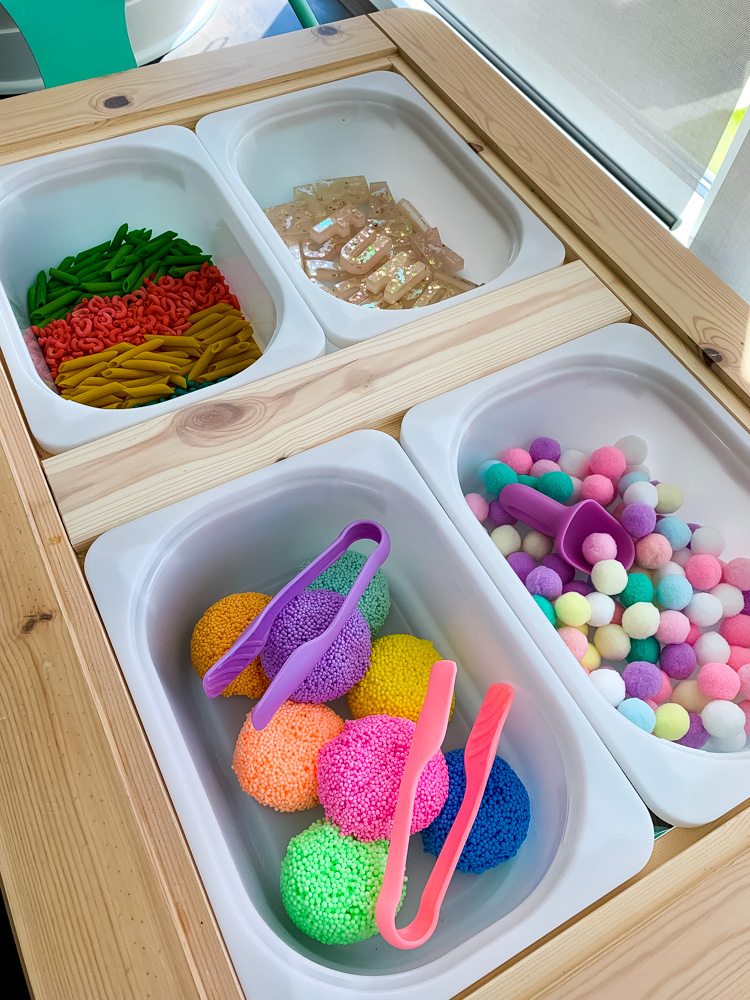
I found this craft on pinterest and decided to give it a try. One rainy day, Lizzie and I made color pastas and it wasn’t messy. You need dry pasta, rubbing alcohol and food coloring (traditional dye or gel based will work). Simply add the dry pasta to a zip lock bag, pour in a little rubbing alcohol and a few food coloring drops. Mix up the pasta to ensure each piece is coated. Your child can help with this task. If the food coloring isn’t spreading easily add a little more rubbing alcohol. Let the pasta sit in the bag for about 15 minutes. Then spread it out on wax paper and let dry for a couple of hours. Once dry you can let your child play with it and the dye won’t rub off.
Bin 2 – Acrylic Letters
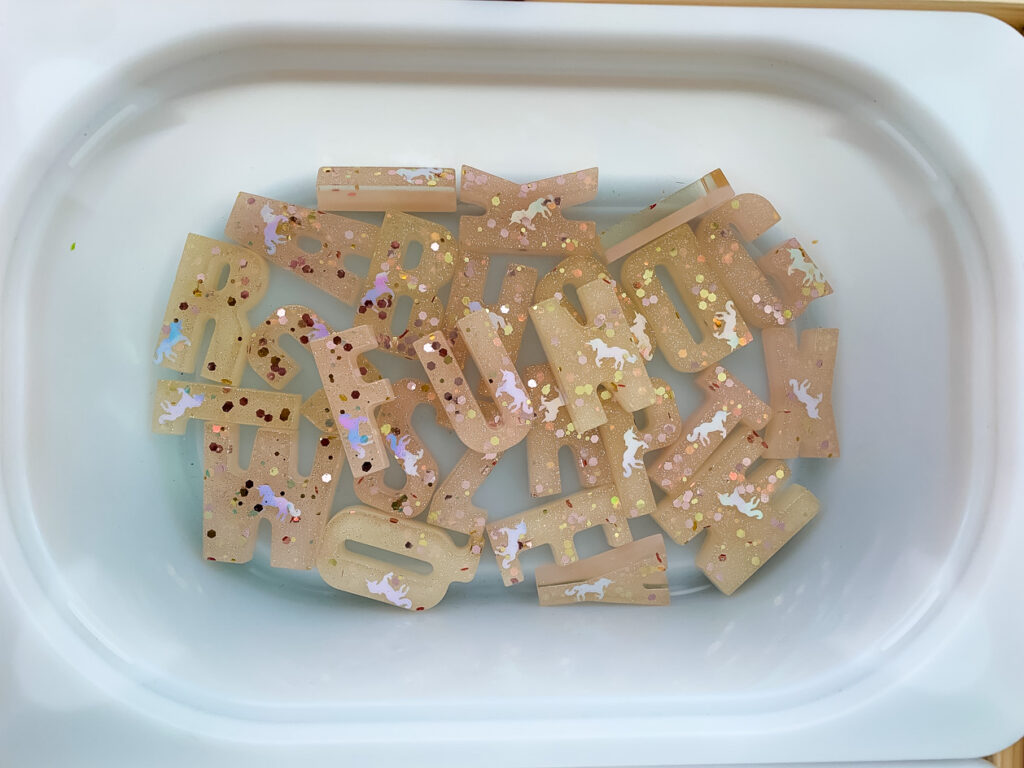
I filled up this bin with the alphabet made from acrylic letters. The letters are a great size for little hands. If I am playing at the table too I can spell out small words. However she just likes to pick them up and identify them right now. I bought mine locally in Chicago, but you can find them on Etsy, I like this set.
Bin 3 – Pom Poms
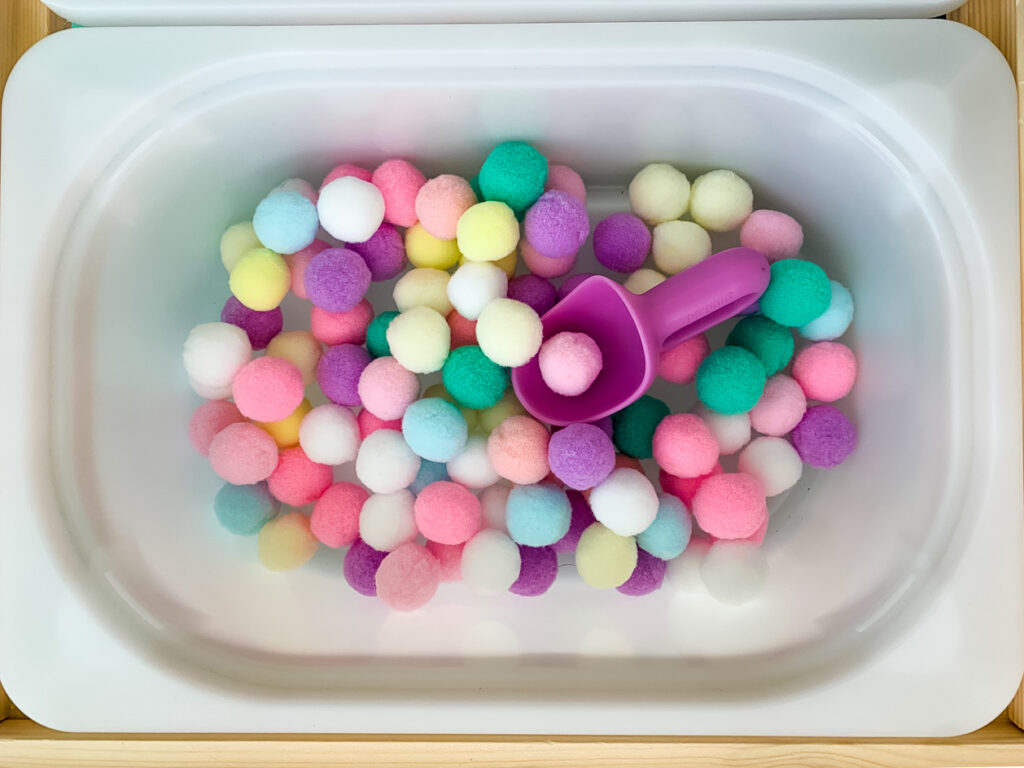
Everyone loves pom poms! I loaded up with this bin with pom poms and grabbed a small scoop. She can scoop up the pom poms and transfer them to other bins while working on her fine motor skills. And if she happens to throw them outside of the bin they won’t dent anything. I love that you can color coordinate your pom poms to match a theme. Lizzie doesn’t care what it all looks like, but I do.
Bin 4 – Play Foam
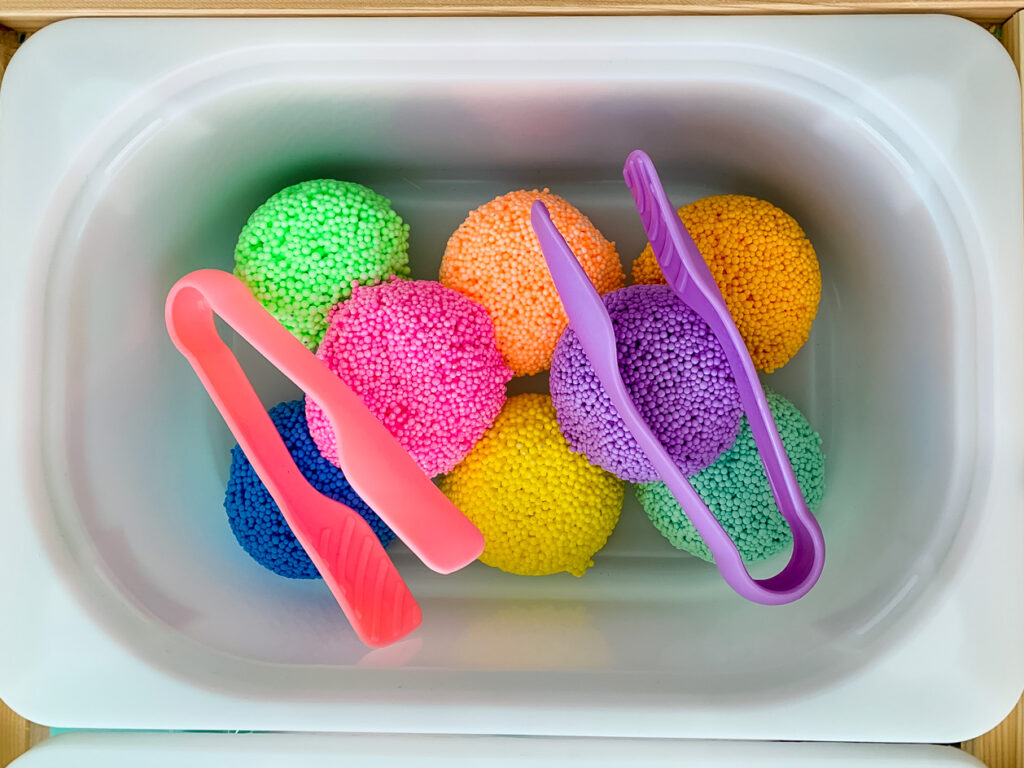
Whoever invented Play Foam is a genius! It provides hours of fun for kids. Lizzie loves this stuff and I love that it’s mess free. It’s a cross between play dough, kinetic sand and looks a little like dippin dots. It sticks together and allows kids to mold it into shapes. I added oversized tweezers to the bin for more fine motor skill development. Don’t worry, I am going to let Lizzie mix all the colors together. That’s the best part!
Sensory Table Supply List
If you are going to make your own sensory table here is checklist for what you will need.
- Flisat Table
- Trofast Containers
- Dry Pasta
- Food Coloring
- Rubbing Alcohol
- Pom Poms
- Scoop
- Acrylic Letters
- Play Foam
- Oversized Tweezers


Comments
Comments are closed